STEM capabilities are developed when students are challenged to solve open-ended, real-world problems that engage students in the processes of STEM disciplines.
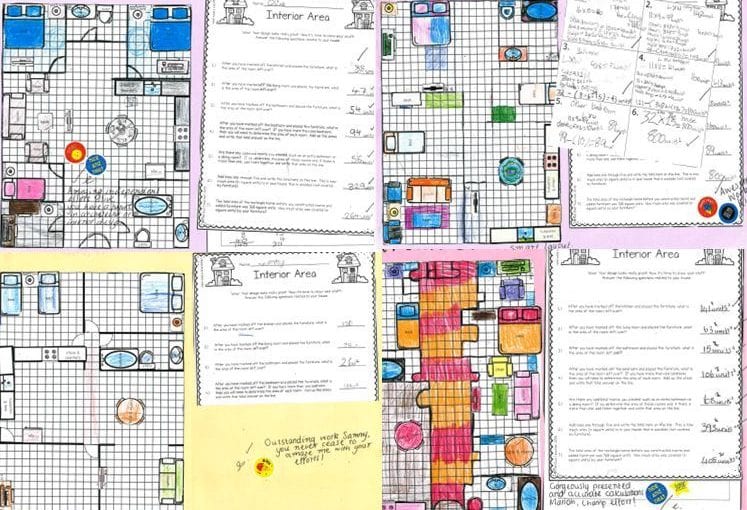
With this in mind, I assigned my students a STEM project to ‘Design a House’ with the task of designing a floor & furniture plan.
The goal for my students was to design a layout that includes at least 1 x bedroom, 1 x bathroom, 1 x kitchen & 1 x toilet (further differentiated dependent on student ability) and complete an interior design work task sheet to answer questions regarding the area and perimeter of their spaces.
Note-My supp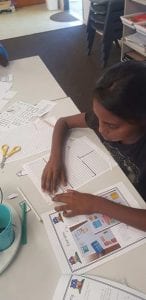 ort students were further provided with a scaffolded floor plan with rooms already sectioned off – This is a great idea when differentiating this project for younger learners.
I found this video featured on the ABC Education website particularly useful in prompting students to engage with an understanding of the design & engineering process. Click here to view.
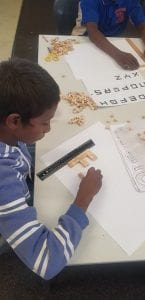
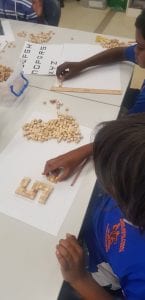
The students drew what their house looked like from above (bird’s-eye view) without the roof & what it looked like from the front (front view) with the roof. Some students enjoyed seeing they someone else could build their house using their plans with MAB unit blocks.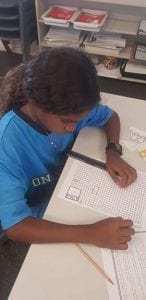
To further extend my students I allowed them to access an easy to use Home Design Software & Interior Design Tool called Planner 5D (an online program) on class laptops to engineer their floor plan designs.
Throughout this process, my students answered many critical thinking questions related to estimating, finding area, and finding perimeter. In addition, they continually built on their Mathematical understandings of dimensions & measurement whilst further developing their skills in Technology.
This task required the students to consider engineering principles, use scaled instruments to represent their designs as annotated diagrams/plans, work collaboratively to build a three-dimensional model and use computer-aided design technology to draw their design.